Related
A garden is a home , a mark new pursuit , a instinctive resource for produce , and a beautiful yard aesthetic all at once . But planting a garden is n’t as well-fixed as merely tossing out some seeds and hoping for the just .
Before you’re able to begin , you have to see the soil in your chosen garden space is suitable for sustain plant life and promoting growth . This can be quite an overwhelming endeavor ! Never fear , this step - by - footfall guide will show you how to prepare stain for your garden like a pro .
What To Consider Before You Start
Image deferred payment : Piyaset via Shutterstock
The first thing is to determine whichpart of your yardwill be used for your garden . You ’ll want to choose a spot that gets ample sunlight and drainage but is n’t close to any trees or powerfulness line . you’re able to get through your area ’s office company to insure that you ’re not digging too confining to any crucial lines or line .
The idealistic smirch should receive between six and eight hour of direct sunlight and show no signs of pooling after a hardy rain .

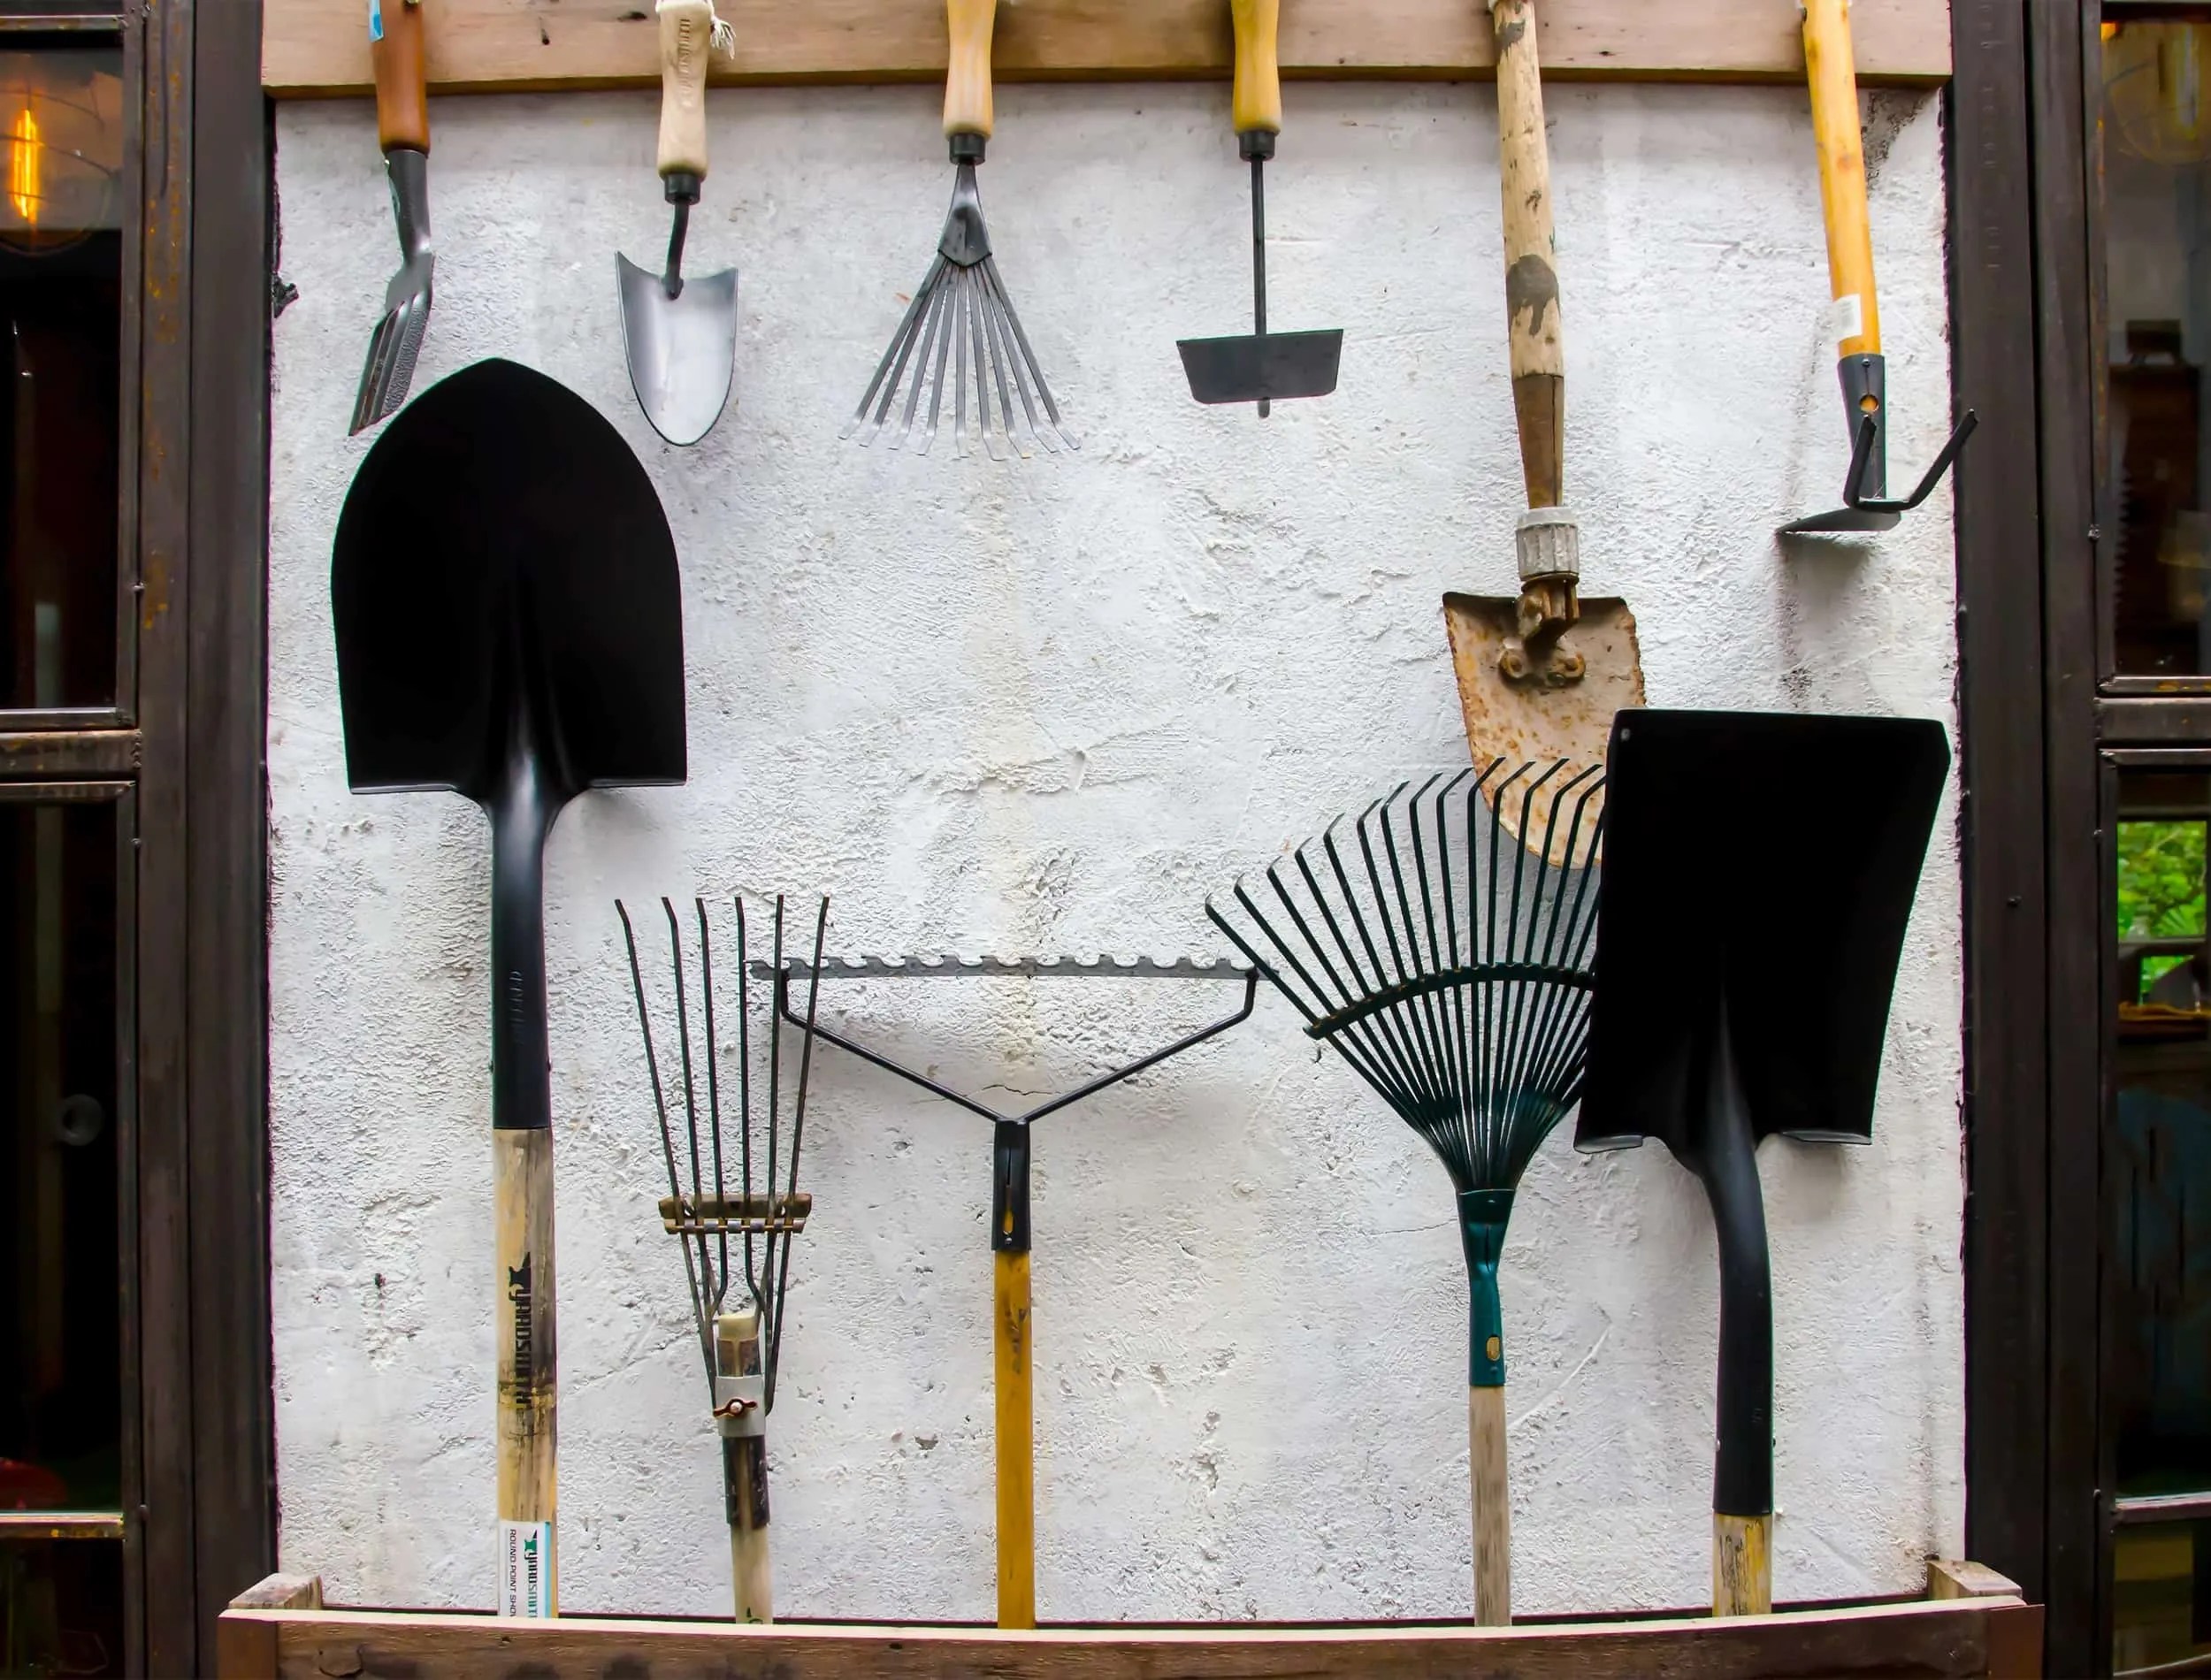
Materials and Tools Needed
mental image credit : me2724 via Shutterstock
To prep your soil for your presently - to - be garden , you ’ll involve to follow item :
How to Prepare Your Soil for a Garden
Step 1: Breaking the Ground / Removing Sod
range of a function credits : Patrick Hatt via Shutterstock
double credit rating : Vintagepix via Shutterstock
Step 2: Testing Your Current Soil
1 . In your staked - off area , habituate a digger to dig between eight and 12 inches into the ground .
2 . Now , undo the soil in your plot . utilize a shovel to turn the grease over so that the topsoil is moved to the bottom . bump up any large chunks as you go so that all grease is a exchangeable consistency .
3 . As you go , hit any debris , stone , rock’n’roll , and alien matter from the soil . Take note of any insect or worms in the soil as this indicates good nutritive content .

Image credits : OakleyOriginals via Creative Commons
4 . Next , put on gardening baseball glove and peck up a clump of loosened soil . The dirt should finger flossy and airy and should form a loose globe when you clump it . filth that becomes a hard ball has too much clay and soil that flow asunder too easily has too much sand .
6 . Whentesting either with your handor with a kit , it ’s crucial to take a generous amount of stain from multiple part of your chosen plot . Different locations can have different filth composition , even within a few fundament of each other .

Step 3: Amending Soil Composition
paradigm credit rating : Wasu Watcharadachaphong via Shutterstock
1 . When you ’re ready toamend your stain , commence by loosening the soil with a excavator once more to insure even consistency . As done previously , turn the stain over so the surface soil is on the bottom and remove any debris you find .
2 . If your grunge is too clay or Baroness Dudevant - like , you may amend the problem by add a layer of constitutional matter of your choice . This avail sand - alike soil retain wet and helps loosen the Great Compromiser - like soil . No more than four inch of this subject should be added .
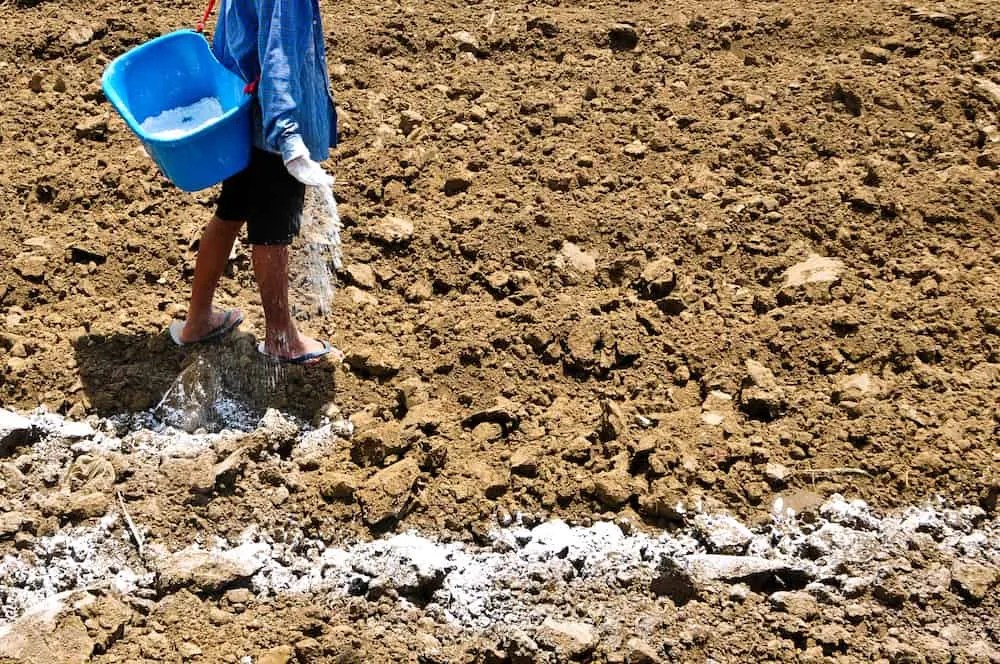
3 . If your soil is too stiff - like , you’re able to also opt to add gypsum to it in accession to organic issue . practice three or four pound of gypsum for every 100 hearty feet ofclay soilyou need to tease apart .
4 . Mix your soil with the organic matter ( and gypsum , if applicable ) thoroughly .
5 . Next , consider thepH of your filth . Generally speaking , a soil pH layer of between six and seven is preferable , but this may disagree calculate on the accurate plant you contrive to uprise .

Two wooden stakes with metal thread fastened to each one. The metal thread is to mark private property and stop intruders from trespassing. There’s a large field and dense woods in the distance.
picture credits : Nuttapong via Shutterstock
6 . To raise pH levels , use two to three pounds of earth limestone for every 100 square feet of territory . expend 2 pounds of sulfur for every 100 square foot of soil to blue pH degree . Whichever you need to apply , mix it deep into the soil .
7 . If ground tests read that your soil lacks nutrients , you could now fertilize it . Pick fertilizers rich in the nutrients that your soil want , such as phosphorus , nitrogen , or potassium . utilize one pound of well - balanced fertilizer per 100 square feet of ground and mix well by turning it into the grime .
8 . in conclusion , impart your amend soil to sit for at least three weeks . This will give the dirt clock time to absorb the food you have added to it .
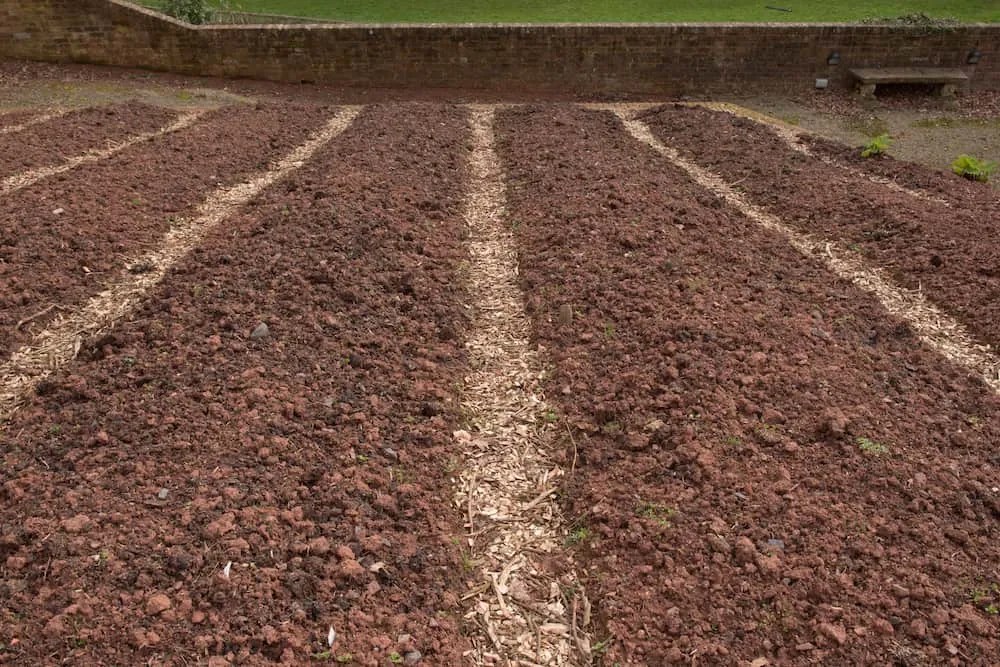
Step 4: Tilling the Soil Into Rows
Image credits : elesi via Shutterstock
1 . Once your amended land has sit for a decent amount of time , return to your plot of ground to till the soil . Use a rake to rake the soil matted and smooth . Do your best not to take the air on your garden secret plan instantly , so stick to the face and rake from there .
2 . design your rows of plants . The aloofness between each row will vary based on the plants you want to arise , so do search beforehand .
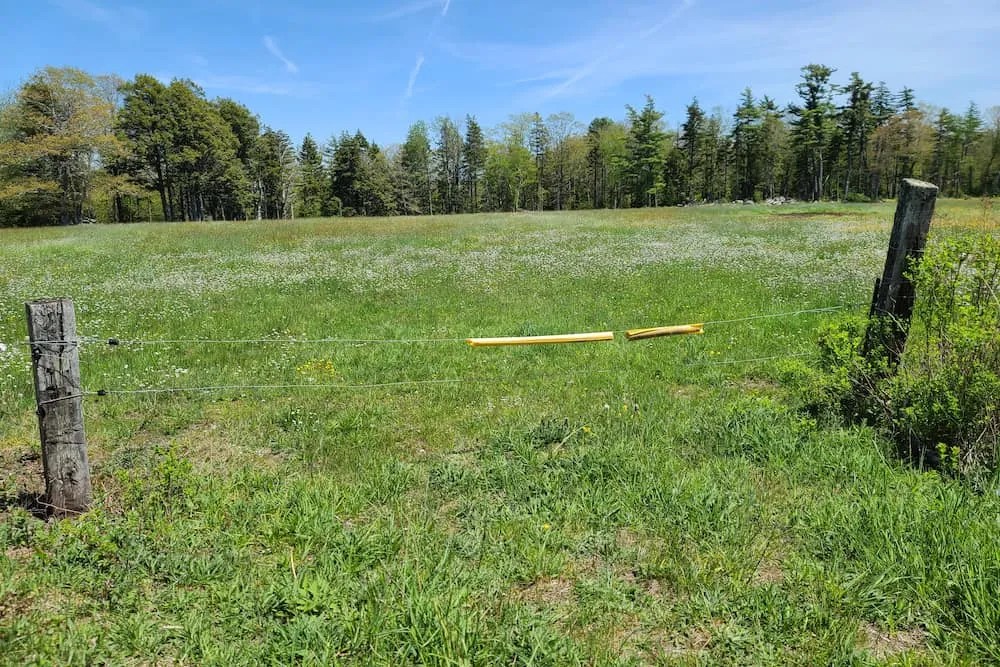
Two wooden stakes with metal thread fastened to each one. The metal thread is to mark private property and stop intruders from trespassing. There’s a large field and dense woods in the distance.
4 . Next , use a rake , hoe , or shovelful to move soil into your planned rows . Each row should be between eight and 10 inches in height .
5 . Flatten the circus tent of each row so that they are between six and eight inch in width . Do not abuse on the rows , as that willcompact the soiland make root difficult .
6 . By the death of your wrangle creation , there should be valley of bland stain between each raised row . fill up these vale with mulch to keep weeds from taking tooth root .

A man rolling out sod, doing backyard landscaping.
Image credits : Peter Turner Photography via Shutterstock
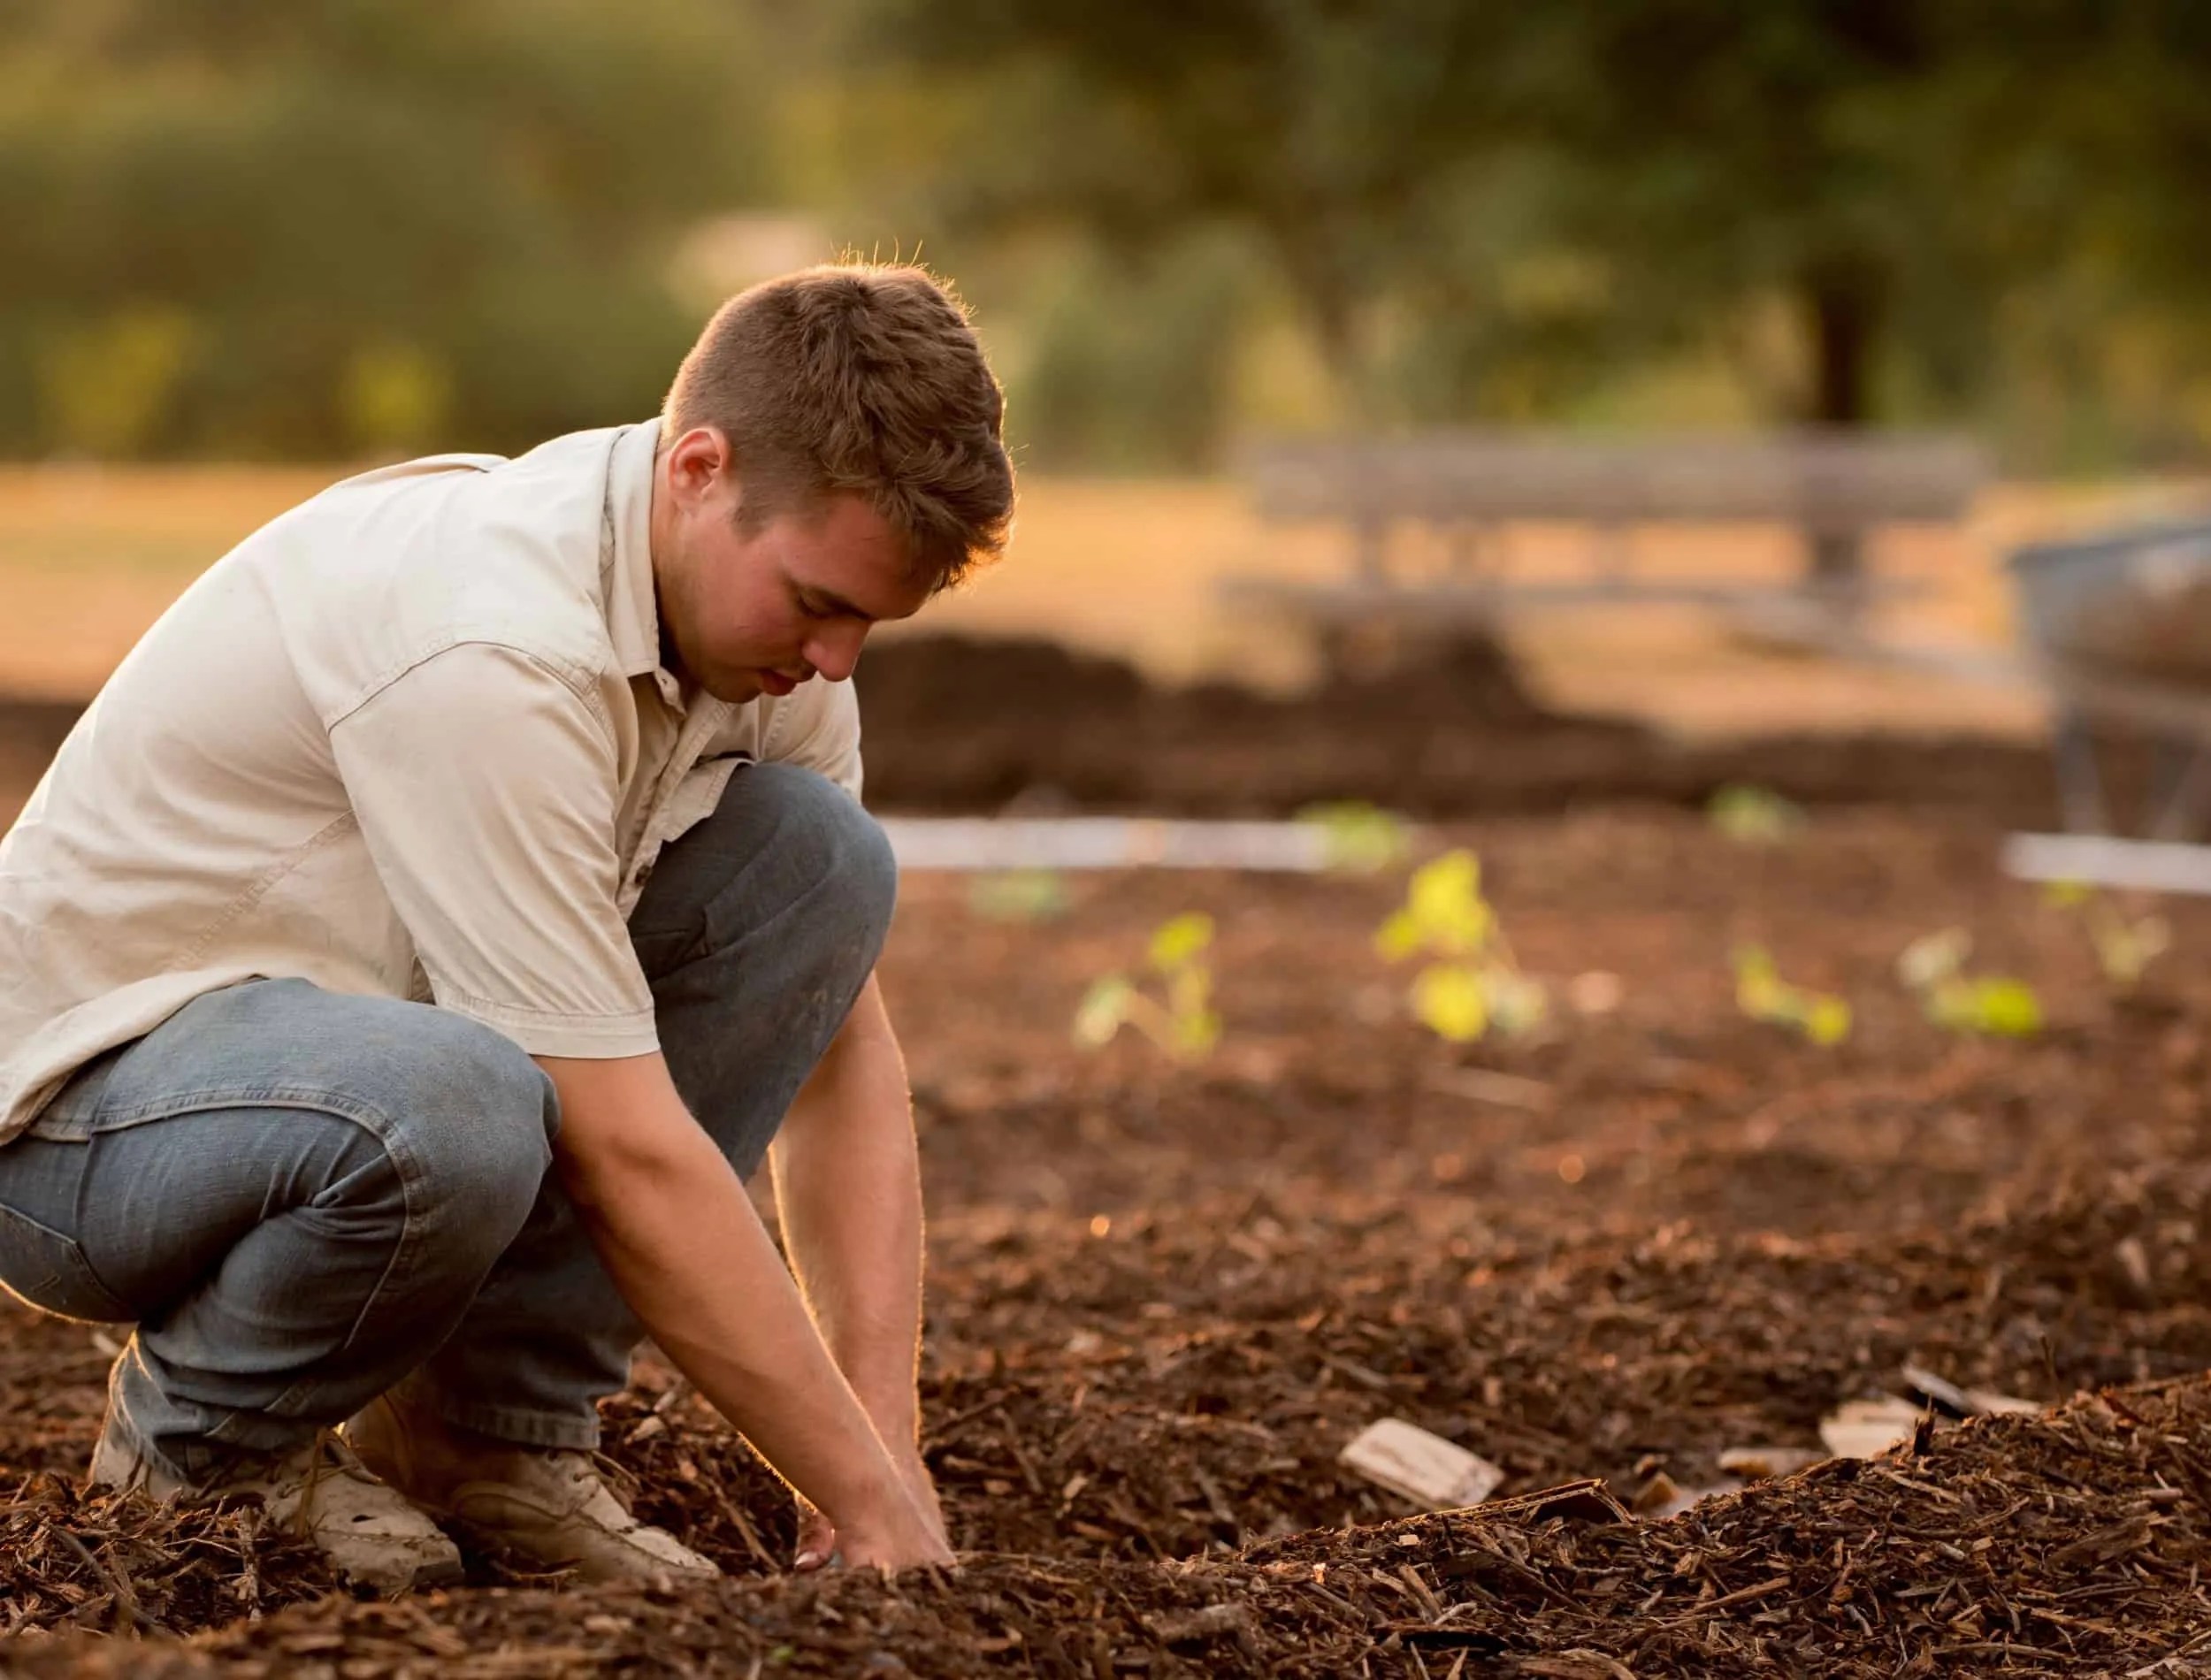
Your filth is now quick to be used for imbed ! think to explore the plant you need to arise first to ensure that your prepared soil cope with the works ' penury .
Always Be Prepared
prepare garden land for the first time is a gruelling endeavor but , it ’s worth the hassle ! Properly prepared soil serve your plants settle down easily , absorb wet , and hold nutrients without getting waterlogged . If you stick by these tips your garden will be sure to thank you .
If you have any doubt or would like to portion out your experiences with preparing garden soil , drop a remark down below .

Farmers sprinkle gypsum to correct the acidity of the soil.

Chemical fertilizers isolated on white background.

Senior man raking the soil with a rake in the vegetables garden. Spring garden preparation for seeding.
Freshly Prepared Vegetable Beds on an Allotment in Rural Devon, England, UK
