This post contains affiliate link . translate full disclosure statement here .
make a pollinator garden in a container using a repurposed trashcan and native flowering plants . No matter the size or fix , there are elbow room to beautify your quad and sustain the local ecosystem .
For more tips also seeHow to develop a Monarch Butterfly Garden .

Image: Container Gardening Complete by Jessica Walliser
DIY Pollinator Garden in a Container
This excerpt fromContainer Gardening Complete : originative projection for Growing Vegetables and blossom in Small Spacesby Jessica Walliser is used with permission from Quarto Publishing Group USA INC . who also provide a review transcript of the book . Thank - you , Jessica , and Quarto .
There are over 4,000 species of native bees in North America , and while supporting European honey bees is important , helping our aboriginal bee is even more so .
Bees are responsible for for pollinating more than $ 20 billion dollars of nutrient crop each year , and many mintage are suffering from population declines due to pesticide exposure , diseases , and habitat loss . Even urban gardeners will small patio gardens or containers can bring home the bacon authoritative home ground for these insects .
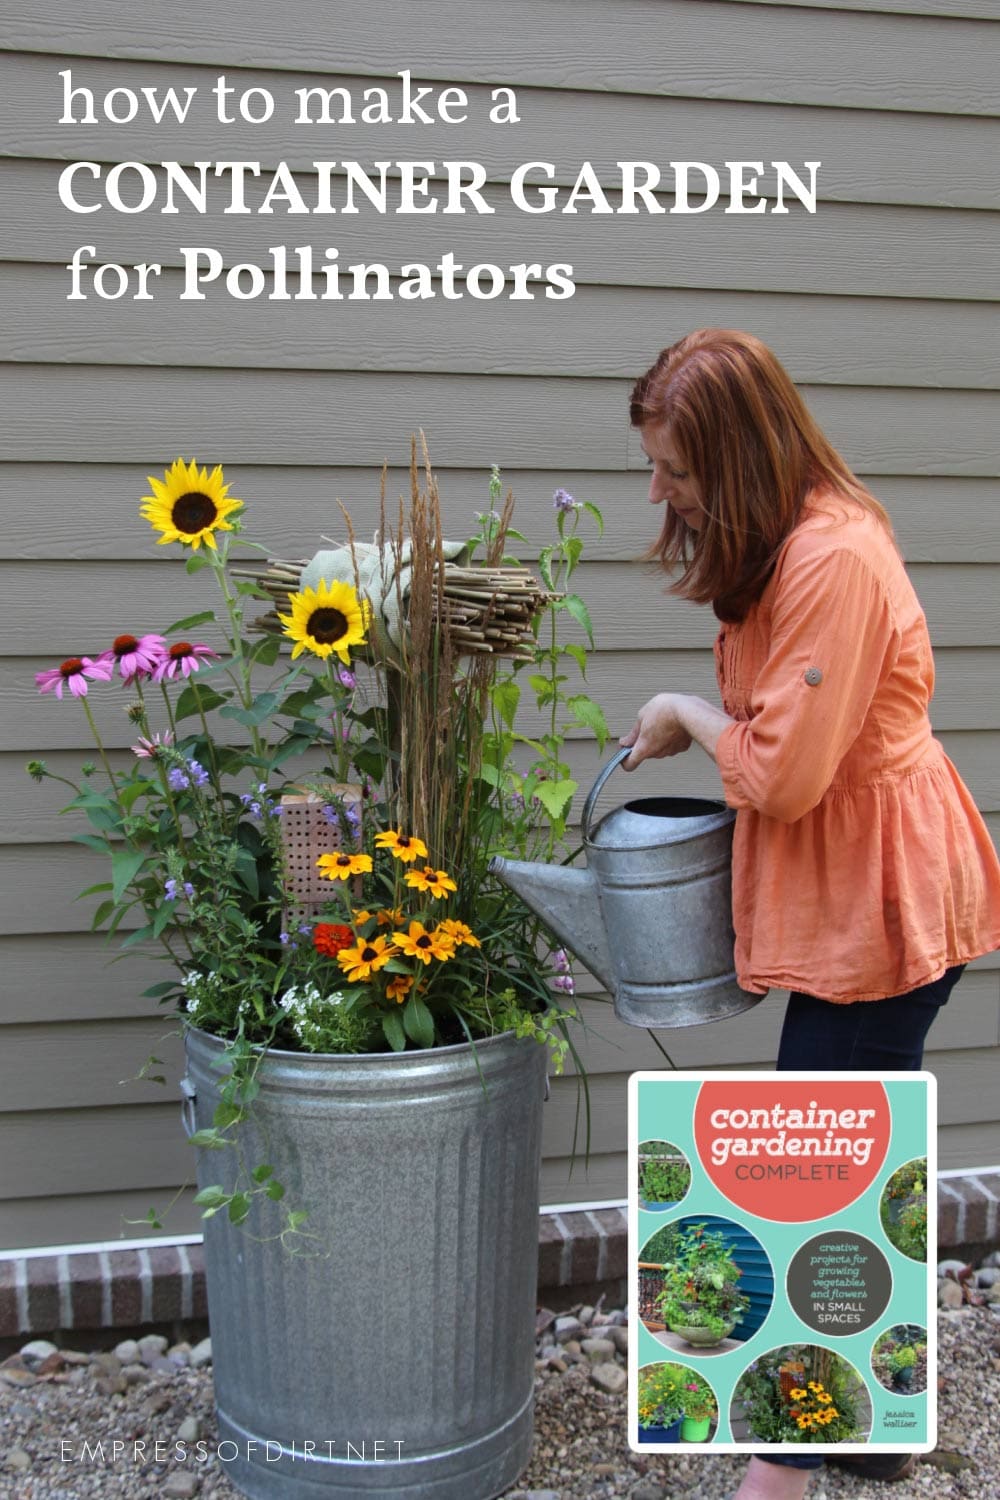
Image: Container Gardening Complete by Jessica Walliser
If every homeowner and flat dweller ramp up a Pollinator Can like this one , what a immense difference we ’d make !
Excellent Host Plants for Bees
Materials Needed
Tools Needed
Related : Where Native Bees Spend the Winter ( & How nurseryman Can Help )
Step 1
pitch the trashcan upside down and hammer the awl through the bottom of the can in eight to ten places to produce drainage kettle of fish .
plough the can back over and locate it where it will have eastern or southeastern exposure on its front .
Related:22 Creative Wagon Planter Ideas

Step 2
localize an upturned , empty 5 - gallon bucket in the bottom of the trashcan . This will fill up some of the space and repress the amount of potting territory / compost blend you ’ll need .
Step 3
puzzle one end of the 2×4 down in the can , propping it vertically between the 5 - gal bucketful and the wall of the trashcan .
Fill the can three - quarter of the room to the top with the potting soil portmanteau , straighten the 2×4 , if necessary .
touch : Handy Garden Checklist : What To Do In Spring

Step 4
Carefully slide the plants out of their pots and set up them in the can , keep the tall plant close to the 2×4 and the shorter plants along the outder sharpness of the can .
Once happy with the emplacement of works , loosen any pot - bound roots and fill the spaces in between the plants with more potting mix until the container is filled to within an column inch of the top .
Leave a small , empty space somewhere close to the front edge of the can . Lay the brick in this place .

relate : How to Grow Sunflowers & Common Mistakes
Step 5
Build the bee nesting block by gluing the three piece of 2×6 - inch timber together with wood glue .
Allow the glue to dry for several hours , then practise holes into one cut end of the blocks , perpendicular to the wood ’s grain .
To advance diverseness , substitute hole sizes by using both the 5/16 - inch Mandrillus leucophaeus bit and the 3/16 - in exercise minute to make hole or so 4 to 5 inched deep spaced about 3/4 - column inch aside .

Do not drill all the way through the block as bees prefer to snuggle in closed - end burrow .
Place the drilled nesting cylinder block on top of the brick position among the plants .
Make certain the holes are not blocked by any vegetation .

Step 6
Next , lie the art object of gunny on the earth and place the sheaf of bamboo stakes in the center of it .
utilize a brace of sharp pruner to curve the stake to approximately 2 - feet in length .
expend the telegram cutters to cut two 18 - in - foresighted pieces of aluminum hobby telegram .

Wrap the conducting wire around the bamboo stakes , one airless to each terminal , to fasten them into a secure bundle .
Roll the gunny around the center of the packet and use a piece of raw jute string to secure it in place .
relate : How to Make a Bee House From Scrap Wood

Step 7
Fasten the gunny - wrapped bundle of bamboo stake to the top of the 2×4 , using more jute twine .
Make certain the stake are parallel to the ground and fairly story .
If any of the cut ends of the bamboo pieces are blocked with dried bamboo pulp , use the awl to clear out the debris and give the bee beneficial memory access .

Step 8
worry for you new Pollinator Can by water the industrial plant regularly .
When winter arrives , do not cut the plants back or otherwise disturb them .
Some specie of native bee may take protection in the plant debris for the winter . Instead , do your cleanup when spring arrive , and the conditions is consistently tender .

By then the bee will have emerged from their overwintering internet site .
you’re able to also replace any plants that did n’t it through the winter at that time .
Bee Note
You ’ll hump the bee are using your nesting sites when the ends of the openings are seal over with clay or industrial plant dust . To keep pathogen and predatory animal from taking over your nesting sites , replace the wood nestle city block and bamboo wager every 2 years in the early summertime , after the vernal bee have emerge and before new eggs are repose .
Resources
Get the Book
Container Gardening Complete
by Jessica Walliser
This has everything you want to know about mature works in container : flower , herb , veggie , and more .

It ’s packed with utile entropy , creative container projects , and flock of beautiful photos .
you could find Jessica atJessicaWalliser.comandSavvygardening.com
More Projects
~Melissathe Empress of Dirt ♛


